

Description
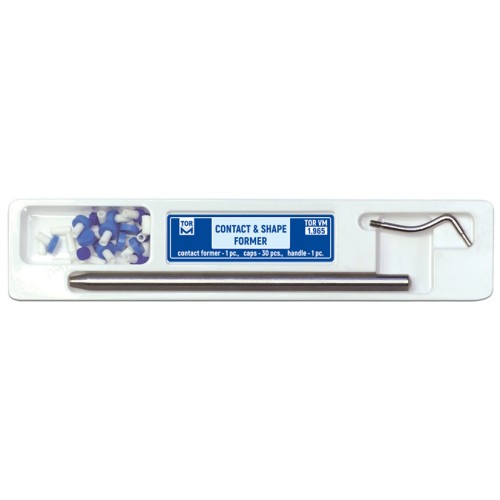
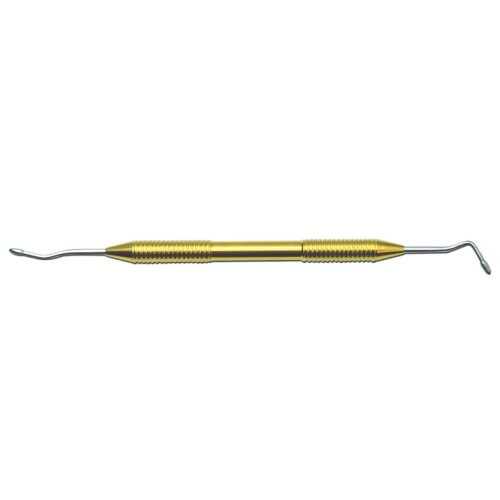
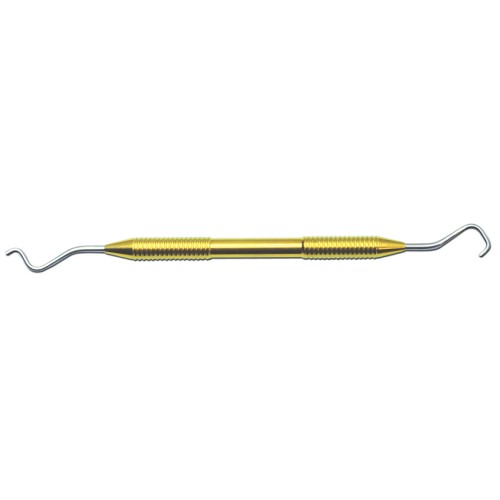
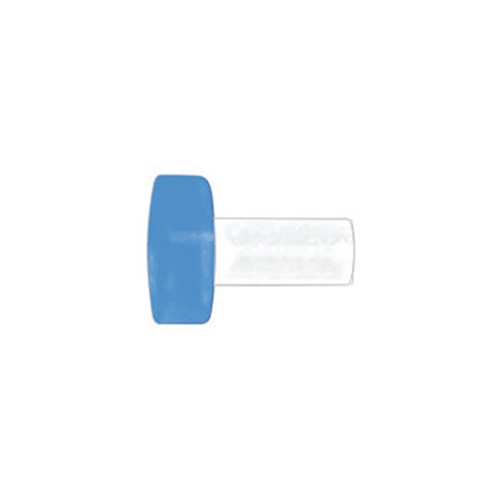
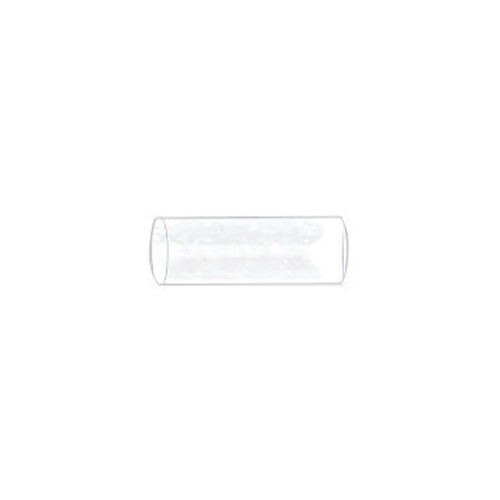
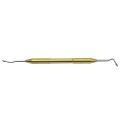
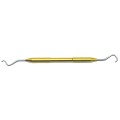
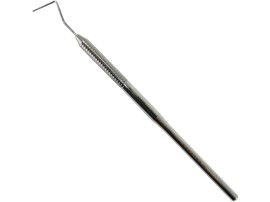
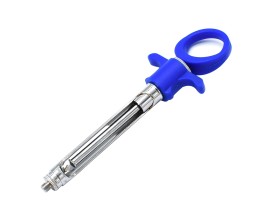
Contact And Shape Former
1) Perform adhesive preparation of the tooth
2) Apply a layer 1 of 0,3-0,5 mm of flowable composite on the prepared surface excluding gingival area and perform photopolymerization
3) Prepare globule 2 from universal composite a bit smaller in size than contact area cavity (area 3) and perform its photopolymerization
4) Apply a thin layer 4 of flowable composite on gingival area – DO NOT PERFORM PHOTOPOLYMERIZATION!
5) Fill contact area cavity 3 with universal composite 5 approximately up to the contact point – DO NOT PERFORM PHOTOPOLYMERIZATION!
6) Place globule 2 into the cavity 3 and using contact former 6 press the globule towards matrix and the neighbor tooth
7) Perform photopolymerization in 2 stages: 1 - the globule 2 being pressed by contact former 6, 2 – contact former 6 being removed from the mouth
8) Restore grinding surface of the tooth
9) Force matrix from the side slopes of the tooth and preform photopolymerization once more directing light on gingival area from the side of facial and lingual surfaces
10) Remove matrix and wedge
11) Finish the restoration
12) Check contact the state of contact surfaces and contact point location and density with floss


0 Review for “CONTACT & SHAPE FORMERS | Instruments”
5 Stars
0%
4 Stars
0%
3 Stars
0%
2 Stars
0%
1 Stars
0%