


Description
Descreption :
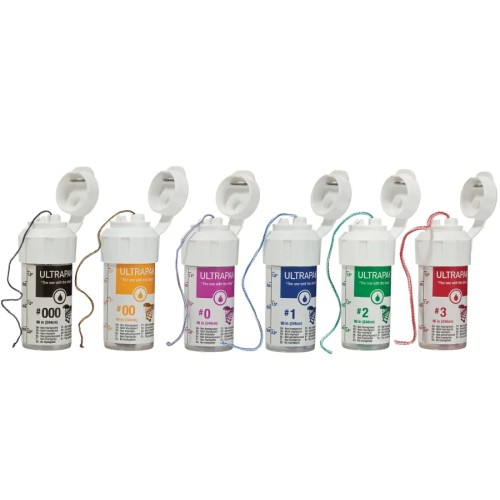
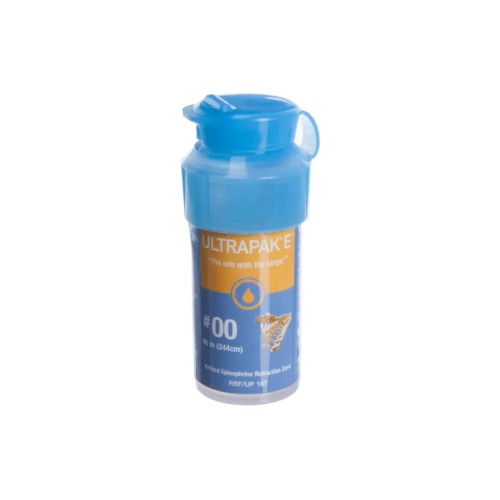
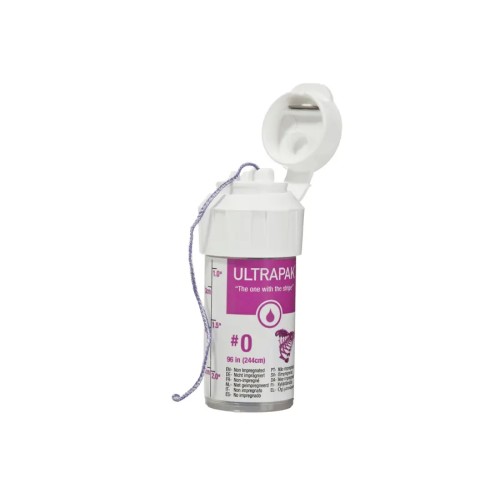
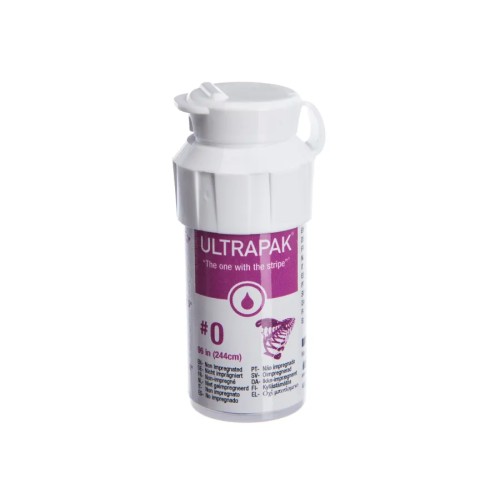
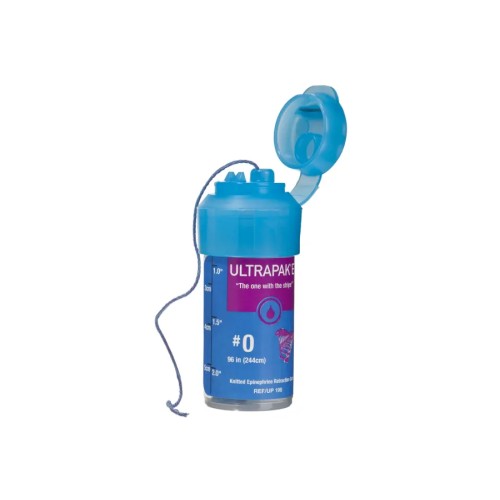
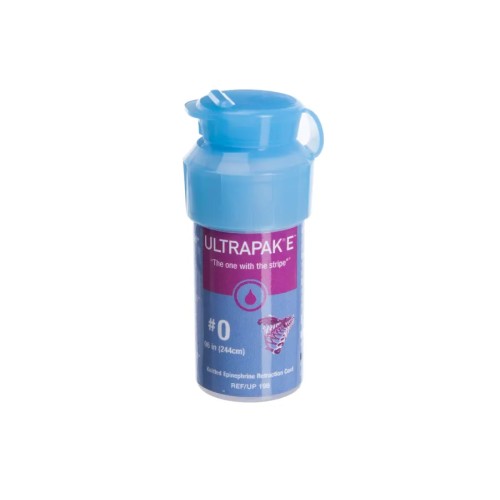
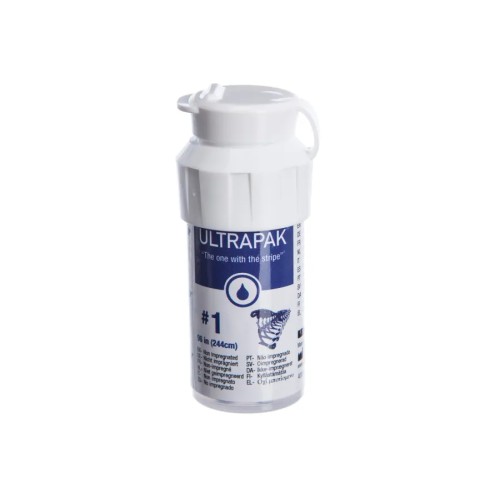
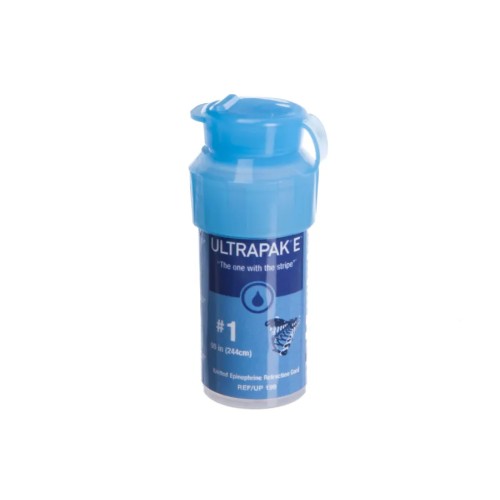
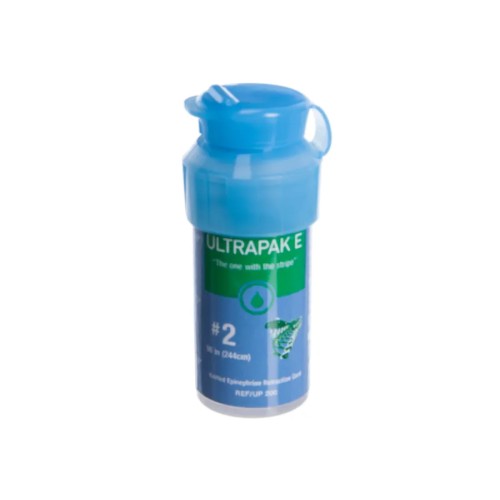
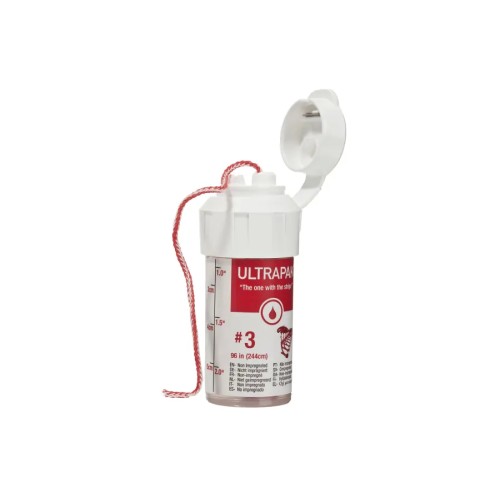
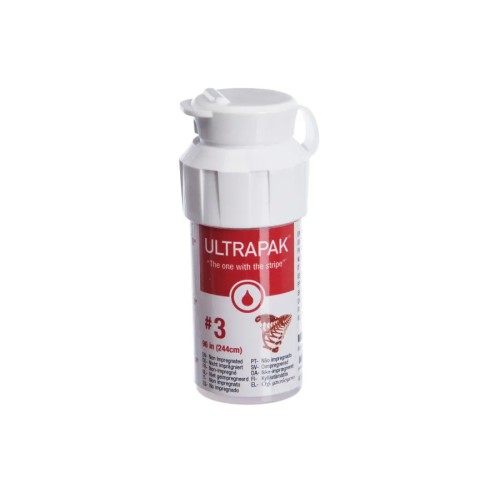
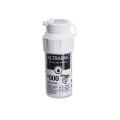
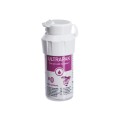
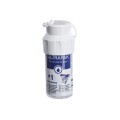
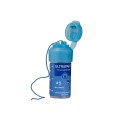
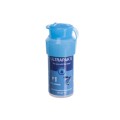
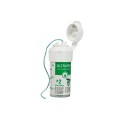
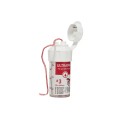
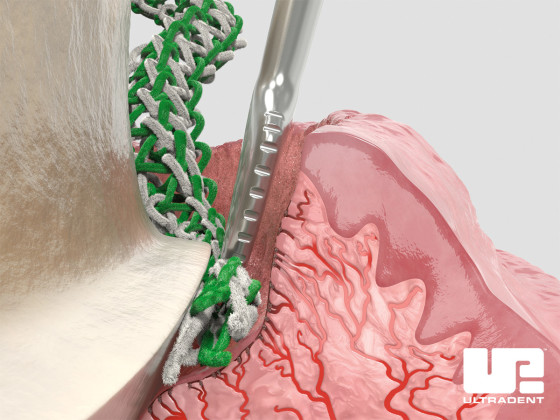
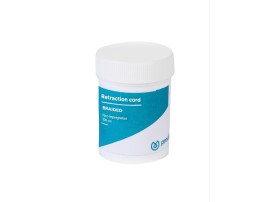
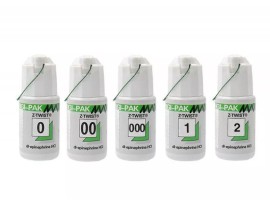
Ultrapak cord is made of 100% cotton, knitted into thousands of tiny loops to form long, interlocking chains. This unique knitted design exerts a gentle, continuous outward force following placement, as the knitted loops seek to open. Optimal tissue displacement occurs in 5 minutes. Ultrapak E knitted cord is impregnated with racemic epinephrine hydrochloride.
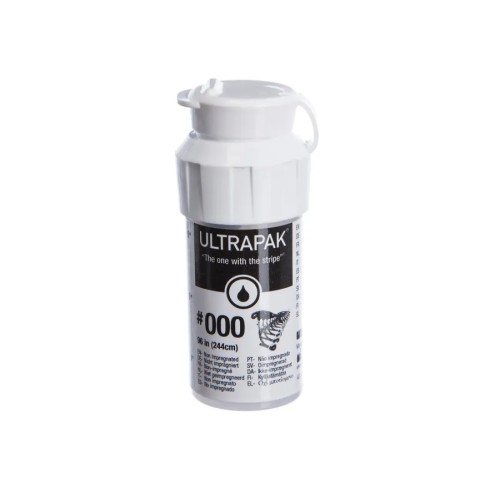
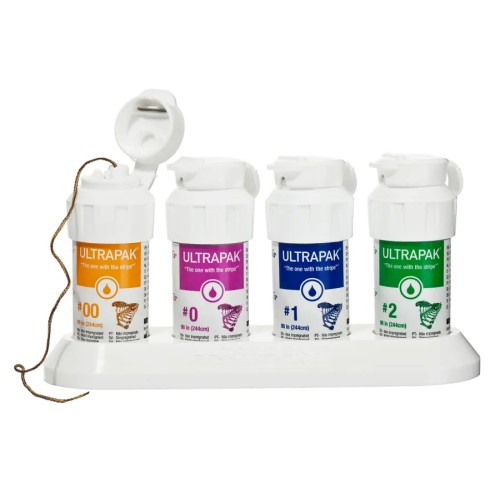
- The original—and smallest—knitted cord
- Provides rapid tissue displacement, detailed margins, and quality impressions
- Facilitates easy packing and stays placed better than any twisted or braided cord
- Compresses upon packing then expands for optimal retraction
- Does not entangle in diamond bur
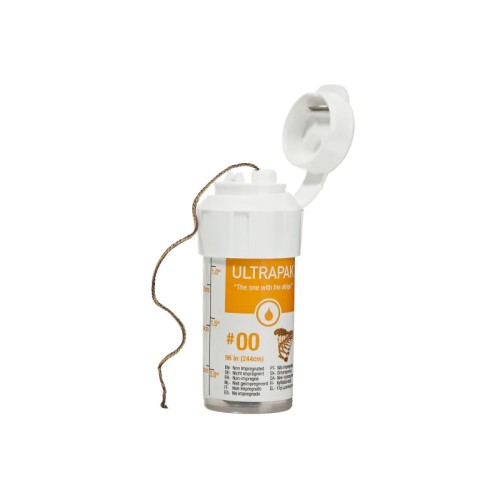
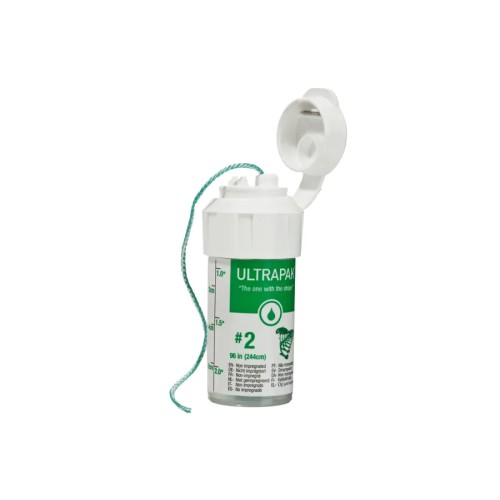
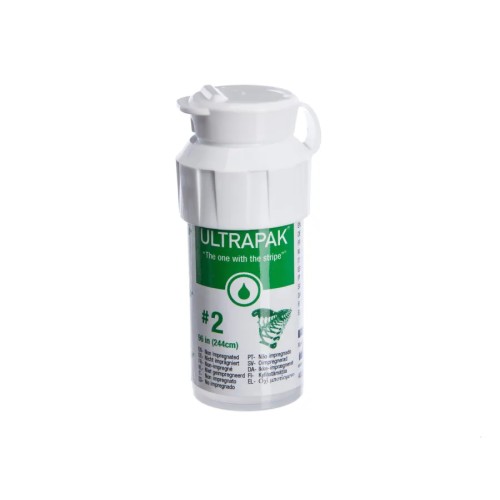
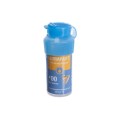
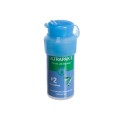
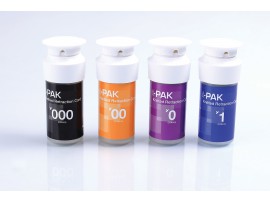
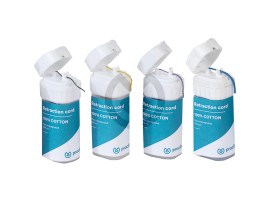
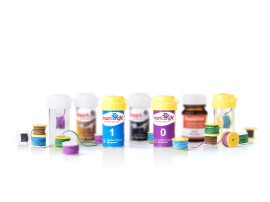
- Bright colors facilitate easy location and removal
- Available with or without epinephrine*
- High carbon steel blade ensures a clean cut
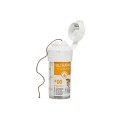
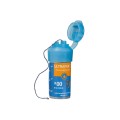
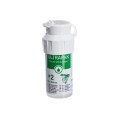
- Thin plastic gate prevents cord from falling into the bottle upon cutting
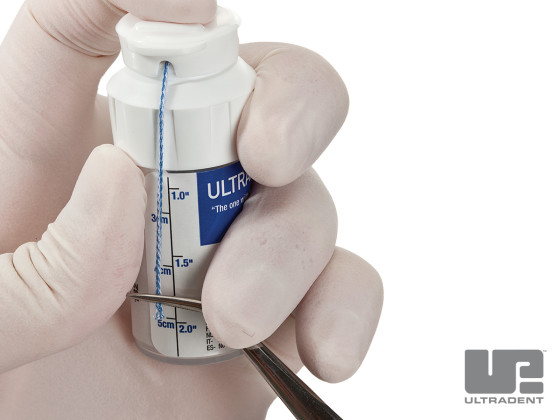
- Ruler printed on label provides easy cord measurement
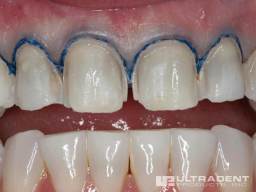
*Note: Do not use Ultrapak E knitted cord or other epinephrine preparations with ferric sulfate solutions, including ViscoStat™, Astringedent™, and Astringedent™ X hemostatics, as a blue/black precipitate will occur. Ultrapak cord with Epinephrine is not available in all countries.
* https://youtu.be/vm52iReD8fQ
Rapid Tissue Displacement
Ruler printed on label provides easy cord measurement.
Clinical :
Pre-Preparation Packing Technique
 step 1
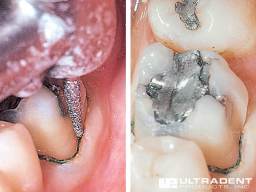
PREPACK. To ensure cord retention during preparation, use a cord large enough to firmly compress into sulcus. Open proximal contacts and place Ultrapak knitted cord soaked in hemostatic solution. Because Ultrapak cord compresses upon packing, use a cord size that appears too large. The thin Ultrapak™ Packer packing instrument quickly slips cord into position.
 step 2
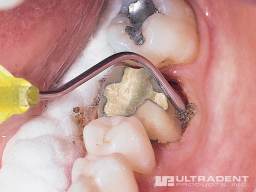
PREPARATION. Extend margin subgingivally by cutting partway into knitted cord, which won't entangle in the diamond bur. Remove remnant of cord with calcium hydroxide applicator (tiny ball end). Bleeding is minimal. A small portion of uncut tooth above the gingival attachment is preserved to record in the impression
 step 3
HEMOSTASIS AND IMPRESSION. Rub the Metal Dento-Infusor™ tip against bleeding tissue as solution is slowly expressed. Rinse with a firm air/water spray to clean and check for complete hemostasis. If bleeding is noted, repeat these steps. If additional retraction is required, repack with appropriate-size cord. Air dry and make impression.
Double-Cord Technique
 step 1
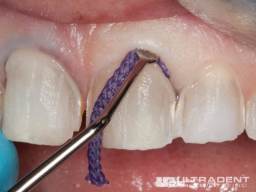
FIRST CORD. Once hemostasis is achieved, carefully place a single cord–such as Ultrapak cord #00–as deep as possible into the sulcus. Use Fischer's Ultrapak™ Packers packing instruments to place cords properly and efficiently.
 step 2
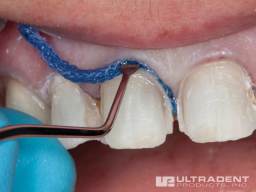
SECOND CORD. Place a second, thicker cord soaked in a hemostatic agent to expand the tissue laterally.
 step 3
RINSE/DRY. Rinse the area well and lightly dry.


0 Review for “Ultrapak™ and Ultrapak™ E | Knitted & Epinephrine Knitted Cord”
5 Stars
0%
4 Stars
0%
3 Stars
0%
2 Stars
0%
1 Stars
0%